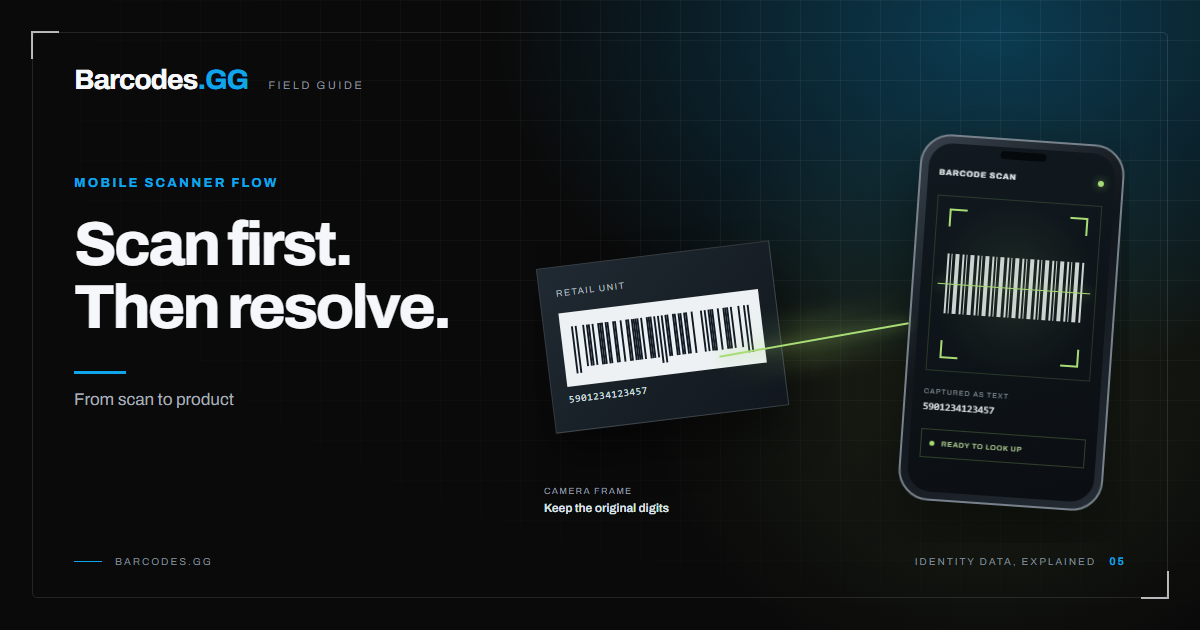
How to build a barcode scanner product-lookup feature
A scan-to-lookup feature has two halves: reading the barcode from the camera, and resolving that number to a product. This guide covers both, plus the validation and caching that keep it fast and reliable.
The scan-to-lookup pipeline
Every scanner feature follows the same pipeline, and building it in stages keeps each part testable.
- Capture: read the barcode from the camera or a hardware scanner.
- Clean: strip stray characters and confirm you have digits.
- Validate: check length and check digit before any network call.
- Lookup: send the GTIN to a product-data API.
- Render: show the result, or fall back gracefully on a miss.
Treat these as separate functions so you can unit-test validation and rendering without a live camera.
In JavaScript-style pseudocode the whole pipeline fits in one function. Each numbered step maps to a stage above:
async function onScan(rawValue) {
  const digits = stripNonDigits(rawValue)                 // 1. clean
  if (!isValidGtin(digits)) return promptRescan()         // 2. validate locally
  const gtin = normalizeGtin(digits)                      // 3. one canonical length
  const product = cache.get(gtin) ?? await lookupViaBackend(gtin)  // 4. server-side proxy
  return product ? renderProduct(product) : renderMiss(gtin)       // 5. render or fall back
}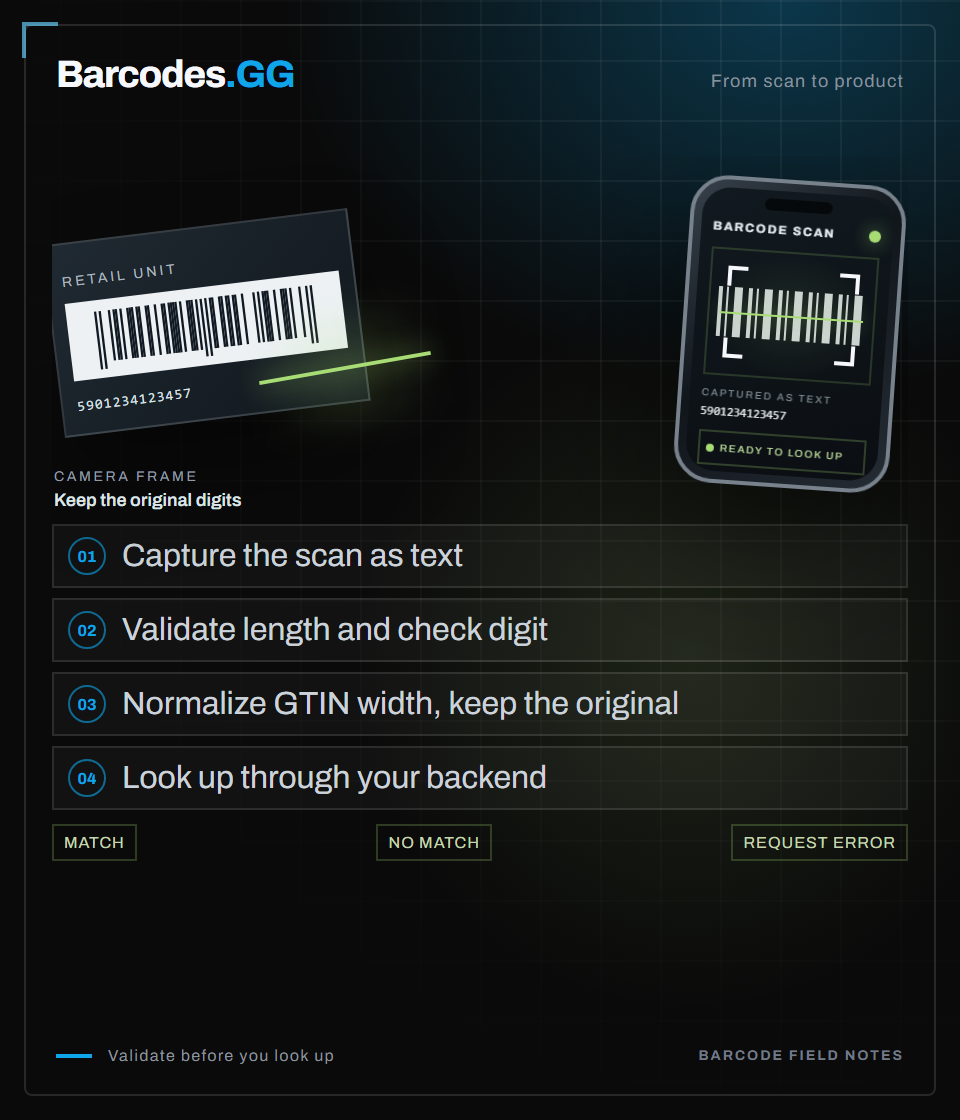
Text version
Capture the scan as text. Validate supported length and check digit; invalid input prompts a rescan. Normalize GTIN width without losing the original. Look up through your backend. Inspect HTTP status and the response body: a match shows the product and size; no match preserves the identifier and shows a clear empty state. Handle request failures separately.
Capturing the barcode
On the web, the browser BarcodeDetector API decodes many symbologies natively, with mature open-source libraries as a fallback for wider device support. On mobile, native camera frameworks and cross-platform scanner libraries handle the same job.
- Request camera permission clearly and handle denial without breaking the flow.
- Give visual feedback the moment a code is detected, so scanning feels responsive.
- Debounce detection so a single physical scan does not fire multiple lookups.
The output of this stage is just a string of digits. Everything after this point is identical whether the number came from a camera, a handheld scanner, or manual entry.
Client-side capture is the least reliable link in the chain. Poor light, motion blur, and damaged labels all produce misreads. A misread that still passes as digits goes straight to your API as a wasted request. Debounce detection so one physical scan cannot turn into a burst of calls. Validate every read locally before the network. Cache and queue lookups to stay within your plan rate limits, and do not fire a lookup on every frame.
Start with a JavaScript barcode scanner library
If you are building a website, @barcodesgg/scanner handles camera access, barcode detection and GTIN validation. It uses the browser detector where supported and falls back to a decoder in other browsers. Choose its web component for a ready-made UI, its React hook for a custom React screen, or its headless core for another framework. The library scans without an account or API key.
Install it with npm install @barcodesgg/scanner. In a bundled web app, a scan-only web component needs just the import and element:
<script type="module">
  import "@barcodesgg/scanner/element";
  document.querySelector("barcode-scanner").addEventListener("barcode-detect", (event) => {
    console.log(event.detail.value);
  });
</script>
<barcode-scanner></barcode-scanner>
To resolve a scan to a product directly in the browser, create a publishable key, allow your site domain in the dashboard, and set publishable-key="pk_..." on the element. Listen for barcode-product to receive the product. Never put a secret API token in client-side code. You can also scan without a key and call your own server for lookup. The package README has the full web component and React examples; try the online scanner if you first want to test a code by hand.
Validate before you call the API
Cameras misread, especially in poor light, so never send raw scanner output straight to the network. Validate the GTIN first to catch bad reads locally and avoid wasted requests.
Implement the check-digit test described in how to validate a barcode, and use the barcode validation tool to verify your implementation against known-good numbers. If a read fails validation, prompt the user to scan again rather than showing a confusing not-found result.
Normalize, then look up
Different scanners and regions produce different GTIN lengths for the same product. Normalize every valid read to one canonical length before you look it up or cache it, using the GTIN converter logic. This prevents the same product from appearing under two cache keys.
For your own backend, send the normalized GTIN to your product-data API through a server proxy and keep your secret API token there. Alternatively, @barcodesgg/scanner can look up products in the browser with a domain-restricted publishable key; never use a secret token in the browser. The request format lives in the API documentation, and you can preview a resolved result on an example page like this lookup.
Rendering results and handling misses
Design the result view around uneven data. A match may arrive with a title and brand but no image, or a category but no description, so null-check every field before rendering. For the shape of a typical response see what data a barcode lookup API returns.
- Hit: render available fields and store the record in your cache.
- Miss: offer manual entry or a report-this-item action.
- Error: retry once, then show a clear, recoverable message.
A hit, a miss, and an error each need a different recovery. A miss means the number was valid but no record exists, so offer manual entry or a report action. An error means the request itself failed: a timeout, a rate limit, or a temporary network fault. Retry once with backoff before you show anything to the user.
Treating all three as one generic failure is the most common cause of a scanner feature that feels broken. Keep them separate in your state model, so the interface can point the user to the action that fixes their case.
Making it fast at scale
A scanner feature feels fast because of caching. Store each resolved product by its normalized GTIN and serve repeat scans locally. This matters a lot in warehouses and shops, where the same items are scanned again and again.
- Cache hits so repeat scans return instantly and reduce API calls.
- Cache misses briefly, so items added later can still resolve.
- Queue lookups when offline and reconcile when the connection returns.
When you are ready for production volume, compare API tiers on the plans page and follow the barcode API guide for the integration details.
Frequently asked questions
Do I need a special library to read barcodes in a browser?
Modern browsers include the BarcodeDetector API, and mature open-source libraries cover devices that lack it. Both return a plain digit string that you then validate and look up.
Should the API call happen on the device or the server?
A secret API token belongs on your server, where you can control caching and rate limits. For direct browser lookup, use a domain-restricted Barcodes.gg publishable key with the scanner library instead.
How do I stop one scan from firing many lookups?
Debounce detection and validate before calling. A single physical scan should produce one normalized GTIN and at most one network request.
Try the tools
Related reading
Barcode API guide: integrate product lookup into your app
A walkthrough for developers: how a barcode API turns a scanned GTIN into structured product data inside your application.
How to validate a barcode: UPC, EAN & GTIN
A practical guide to checking that a UPC, EAN, or GTIN is well formed before you trust it.
What data does a barcode lookup API return?
A field-by-field explanation of what you get back from a product-data barcode API and how to handle uneven results.